

426
Chapter 14 See the World in 3D
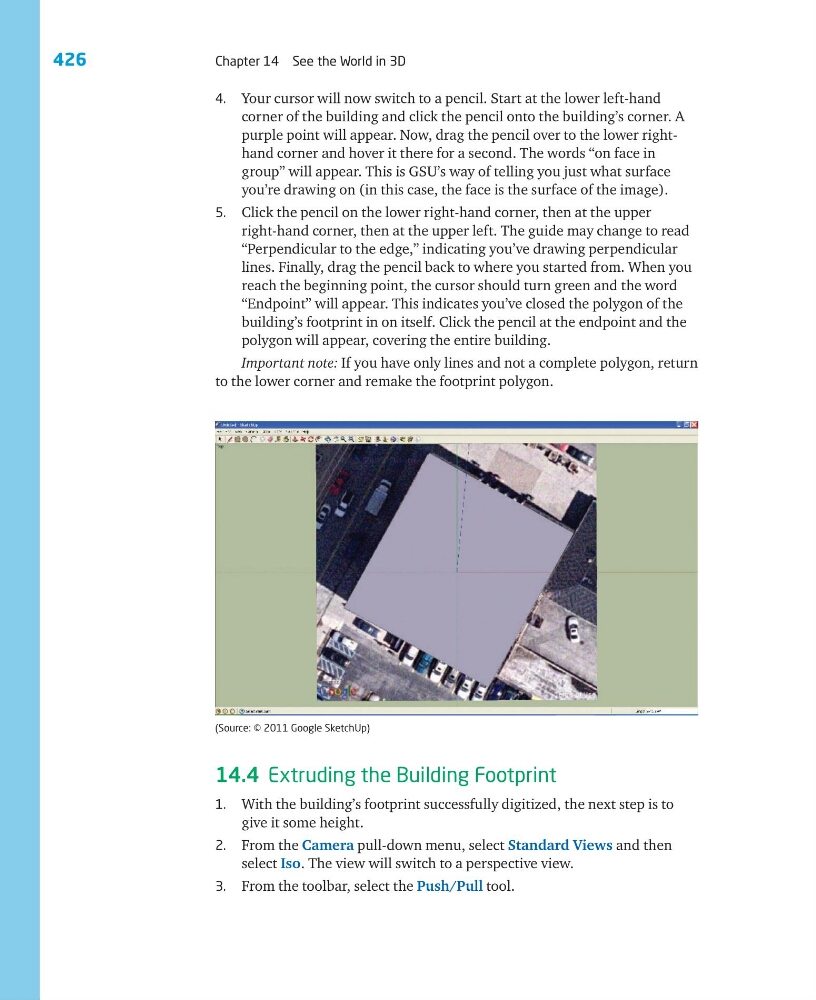
4. Your cursor will now switch to a pencil. Start at the lower left-hand
corner of the building and click the pencil onto the building’s corner. A
purple point will appear. Now, drag the pencil over to the lower righthand corner and hover it there for a second. The words “on face in
group” will appear. This is GSU’s way of telling you just what surface
you’re drawing on (in this case, the face is the surface of the image).
5. Click the pencil on the lower right-hand corner, then at the upper
right-hand corner, then at the upper left. The guide may change to read
“Perpendicular to the edge,” indicating you’ve drawing perpendicular
lines. Finally, drag the pencil back to where you started from. When you
reach the beginning point, the cursor should turn green and the word
“Endpoint” will appear. This indicates you’ve closed the polygon of the
building’s footprint in on itself. Click the pencil at the endpoint and the
polygon will appear, covering the entire building.
Important note: If you have only lines and not a complete polygon, return
to the lower corner and remake the footprint polygon.
14.4 Extruding the Building Footprint
1. With the building’s footprint successfully digitized, the next step is to
give it some height.
2. From the Camera pull-down menu, select Standard Views and then
select Iso. The view will switch to a perspective view.
3. From the toolbar, select the Push/Pull tool.
(Source: © 2011 Google SketchUp)
Chapter 14 See the World in 3D
4. Your cursor will now switch to a pencil. Start at the lower left-hand
corner of the building and click the pencil onto the building’s corner. A
purple point will appear. Now, drag the pencil over to the lower righthand corner and hover it there for a second. The words “on face in
group” will appear. This is GSU’s way of telling you just what surface
you’re drawing on (in this case, the face is the surface of the image).
5. Click the pencil on the lower right-hand corner, then at the upper
right-hand corner, then at the upper left. The guide may change to read
“Perpendicular to the edge,” indicating you’ve drawing perpendicular
lines. Finally, drag the pencil back to where you started from. When you
reach the beginning point, the cursor should turn green and the word
“Endpoint” will appear. This indicates you’ve closed the polygon of the
building’s footprint in on itself. Click the pencil at the endpoint and the
polygon will appear, covering the entire building.
Important note: If you have only lines and not a complete polygon, return
to the lower corner and remake the footprint polygon.
14.4 Extruding the Building Footprint
1. With the building’s footprint successfully digitized, the next step is to
give it some height.
2. From the Camera pull-down menu, select Standard Views and then
select Iso. The view will switch to a perspective view.
3. From the toolbar, select the Push/Pull tool.
(Source: © 2011 Google SketchUp)