

203
GIS Layouts: AEJEE Version
you zoom the Map View to only show Ohio, and then switch to Layout View,
the layout will only show Ohio.
1. To begin, select Layout View from the View pull-down menu.
2. In the Layout View, the black border around the white page represents
the border of the printed page of an 8½ ϫ 11 piece of paper, so be
careful when working near the edges of the page and keep all elements
of the map within that border.
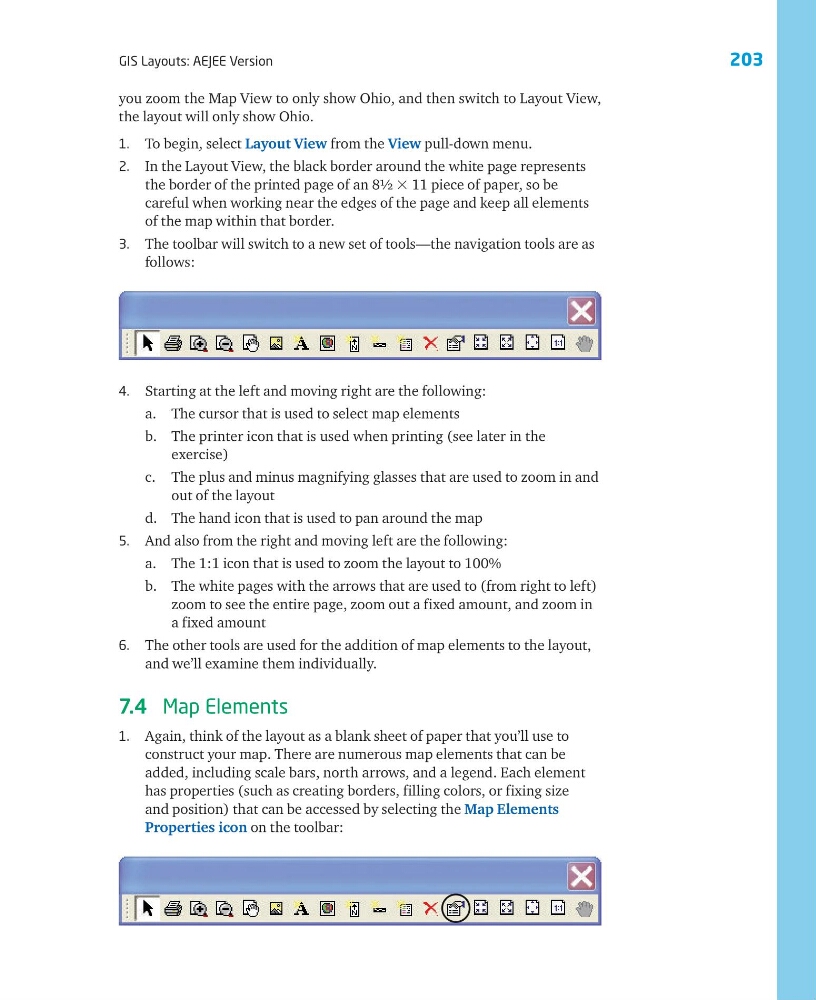
3. The toolbar will switch to a new set of tools—the navigation tools are as
follows:
4. Starting at the left and moving right are the following:
a. The cursor that is used to select map elements
b. The printer icon that is used when printing (see later in the
exercise)
c. The plus and minus magnifying glasses that are used to zoom in and
out of the layout
d. The hand icon that is used to pan around the map
5. And also from the right and moving left are the following:
a. The 1:1 icon that is used to zoom the layout to 100%
b. The white pages with the arrows that are used to (from right to left)
zoom to see the entire page, zoom out a fixed amount, and zoom in
a fixed amount
6. The other tools are used for the addition of map elements to the layout,
and we’ll examine them individually.
7.4 Map Elements
1. Again, think of the layout as a blank sheet of paper that you’ll use to
construct your map. There are numerous map elements that can be
added, including scale bars, north arrows, and a legend. Each element
has properties (such as creating borders, filling colors, or fixing size
and position) that can be accessed by selecting the Map Elements
Properties icon on the toolbar:
GIS Layouts: AEJEE Version
you zoom the Map View to only show Ohio, and then switch to Layout View,
the layout will only show Ohio.
1. To begin, select Layout View from the View pull-down menu.
2. In the Layout View, the black border around the white page represents
the border of the printed page of an 8½ ϫ 11 piece of paper, so be
careful when working near the edges of the page and keep all elements
of the map within that border.
3. The toolbar will switch to a new set of tools—the navigation tools are as
follows:
4. Starting at the left and moving right are the following:
a. The cursor that is used to select map elements
b. The printer icon that is used when printing (see later in the
exercise)
c. The plus and minus magnifying glasses that are used to zoom in and
out of the layout
d. The hand icon that is used to pan around the map
5. And also from the right and moving left are the following:
a. The 1:1 icon that is used to zoom the layout to 100%
b. The white pages with the arrows that are used to (from right to left)
zoom to see the entire page, zoom out a fixed amount, and zoom in
a fixed amount
6. The other tools are used for the addition of map elements to the layout,
and we’ll examine them individually.
7.4 Map Elements
1. Again, think of the layout as a blank sheet of paper that you’ll use to
construct your map. There are numerous map elements that can be
added, including scale bars, north arrows, and a legend. Each element
has properties (such as creating borders, filling colors, or fixing size
and position) that can be accessed by selecting the Map Elements
Properties icon on the toolbar: