

248
Chapter 8 Getting There Quicker with Geospatial Technology
16. For the various settings, use the following:
a. For Type of data, choose tabular (columns & header row).
b. For Source, choose Google.
c. For Field separator in output, choose tab.
17. When the settings are correct, press the Start geocoding button.
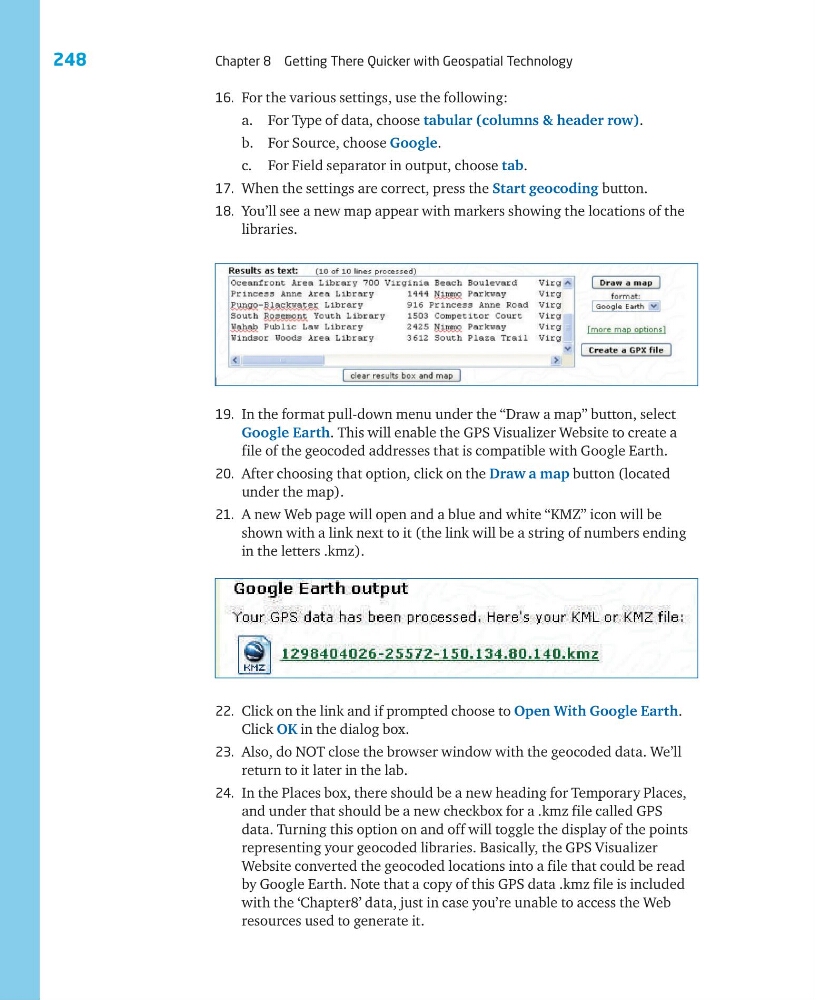
18. You’ll see a new map appear with markers showing the locations of the
libraries.
19. In the format pull-down menu under the “Draw a map” button, select
Google Earth. This will enable the GPS Visualizer Website to create a
file of the geocoded addresses that is compatible with Google Earth.
20. After choosing that option, click on the Draw a map button (located
under the map).
21. A new Web page will open and a blue and white “KMZ” icon will be
shown with a link next to it (the link will be a string of numbers ending
in the letters .kmz).
22. Click on the link and if prompted choose to Open With Google Earth.
Click OK in the dialog box.
23. Also, do NOT close the browser window with the geocoded data. We’ll
return to it later in the lab.
24. In the Places box, there should be a new heading for Temporary Places,
and under that should be a new checkbox for a .kmz file called GPS
data. Turning this option on and off will toggle the display of the points
representing your geocoded libraries. Basically, the GPS Visualizer
Website converted the geocoded locations into a file that could be read
by Google Earth. Note that a copy of this GPS data .kmz file is included
with the ‘Chapter8’ data, just in case you’re unable to access the Web
resources used to generate it.
Chapter 8 Getting There Quicker with Geospatial Technology
16. For the various settings, use the following:
a. For Type of data, choose tabular (columns & header row).
b. For Source, choose Google.
c. For Field separator in output, choose tab.
17. When the settings are correct, press the Start geocoding button.
18. You’ll see a new map appear with markers showing the locations of the
libraries.
19. In the format pull-down menu under the “Draw a map” button, select
Google Earth. This will enable the GPS Visualizer Website to create a
file of the geocoded addresses that is compatible with Google Earth.
20. After choosing that option, click on the Draw a map button (located
under the map).
21. A new Web page will open and a blue and white “KMZ” icon will be
shown with a link next to it (the link will be a string of numbers ending
in the letters .kmz).
22. Click on the link and if prompted choose to Open With Google Earth.
Click OK in the dialog box.
23. Also, do NOT close the browser window with the geocoded data. We’ll
return to it later in the lab.
24. In the Places box, there should be a new heading for Temporary Places,
and under that should be a new checkbox for a .kmz file called GPS
data. Turning this option on and off will toggle the display of the points
representing your geocoded libraries. Basically, the GPS Visualizer
Website converted the geocoded locations into a file that could be read
by Google Earth. Note that a copy of this GPS data .kmz file is included
with the ‘Chapter8’ data, just in case you’re unable to access the Web
resources used to generate it.