

GridLayout {
// …
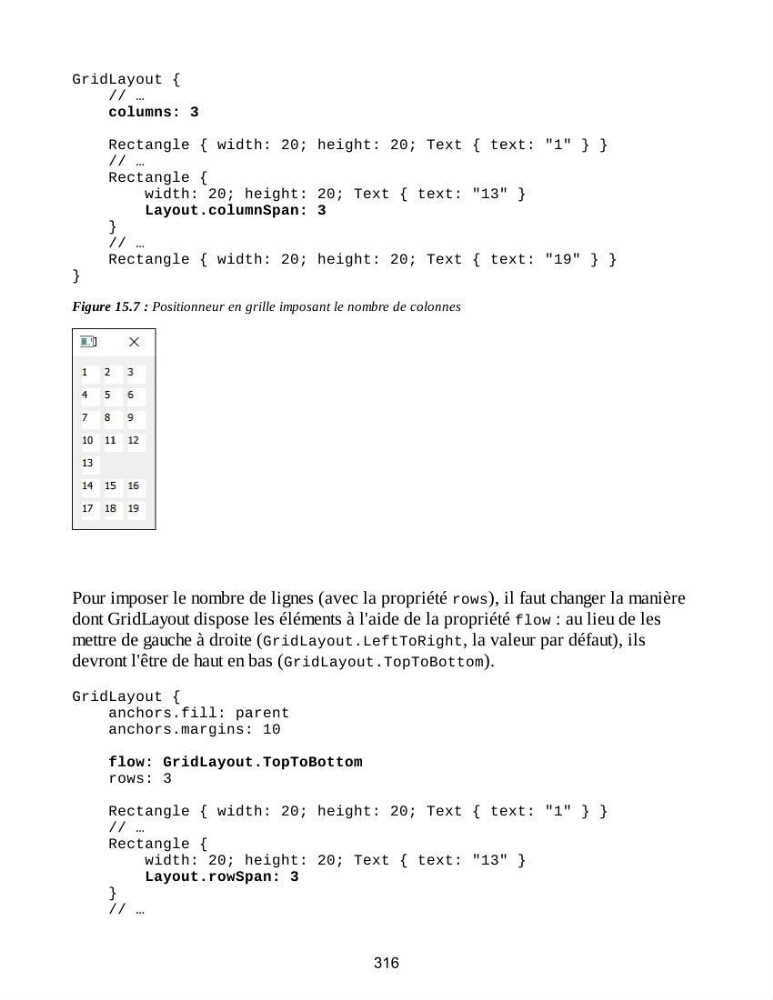
columns: 3
Rectangle { width: 20; height: 20; Text { text: "1" } }
// …
Rectangle {
width: 20; height: 20; Text { text: "13" }
Layout.columnSpan: 3
}
// …
Rectangle { width: 20; height: 20; Text { text: "19" } }
}
Figure 15.7 : Positionneur en grille imposant le nombre de colonnes
Pour imposer le nombre de lignes (avec la propriété rows), il faut changer la manière
dont GridLayout dispose les éléments à l'aide de la propriété flow : au lieu de les
mettre de gauche à droite (GridLayout.LeftToRight, la valeur par défaut), ils
devront l'être de haut en bas (GridLayout.TopToBottom).
GridLayout {
anchors.fill: parent
anchors.margins: 10
flow: GridLayout.TopToBottom
rows: 3
Rectangle { width: 20; height: 20; Text { text: "1" } }
// …
Rectangle {
width: 20; height: 20; Text { text: "13" }
Layout.rowSpan: 3
}
// …
316
// …
columns: 3
Rectangle { width: 20; height: 20; Text { text: "1" } }
// …
Rectangle {
width: 20; height: 20; Text { text: "13" }
Layout.columnSpan: 3
}
// …
Rectangle { width: 20; height: 20; Text { text: "19" } }
}
Figure 15.7 : Positionneur en grille imposant le nombre de colonnes
Pour imposer le nombre de lignes (avec la propriété rows), il faut changer la manière
dont GridLayout dispose les éléments à l'aide de la propriété flow : au lieu de les
mettre de gauche à droite (GridLayout.LeftToRight, la valeur par défaut), ils
devront l'être de haut en bas (GridLayout.TopToBottom).
GridLayout {
anchors.fill: parent
anchors.margins: 10
flow: GridLayout.TopToBottom
rows: 3
Rectangle { width: 20; height: 20; Text { text: "1" } }
// …
Rectangle {
width: 20; height: 20; Text { text: "13" }
Layout.rowSpan: 3
}
// …
316