

9. Launch the machine controlling software (a detailed view can
be seen in Fig. 9) and load the code.
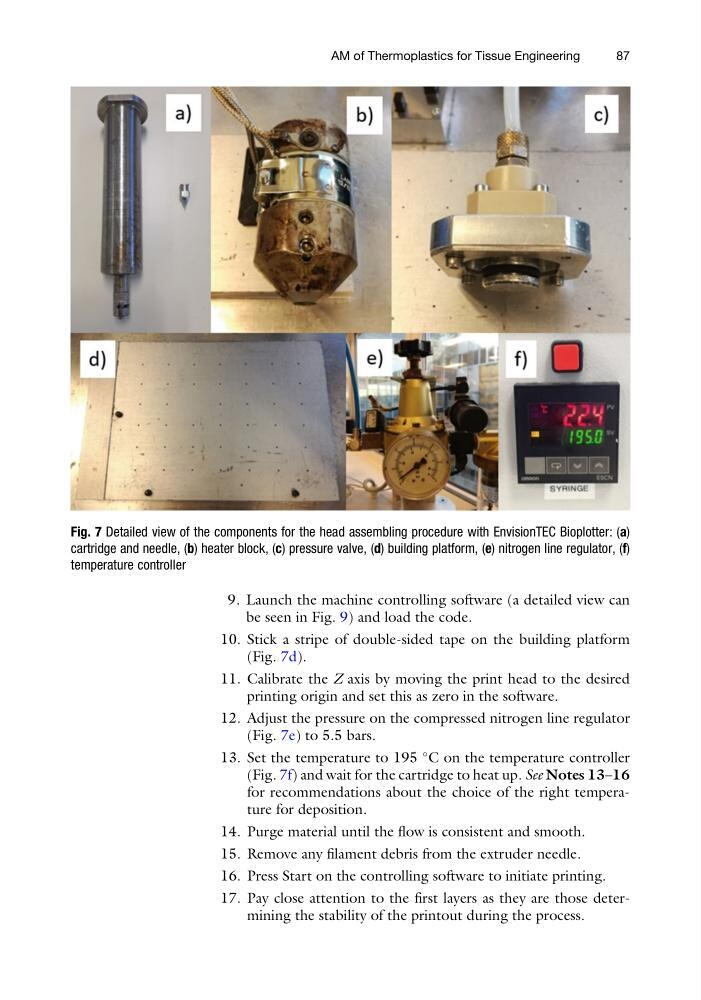
10. Stick a stripe of double-sided tape on the building platform
(Fig. 7d).
11. Calibrate the Z axis by moving the print head to the desired
printing origin and set this as zero in the software.
12. Adjust the pressure on the compressed nitrogen line regulator
(Fig. 7e) to 5.5 bars.
13. Set the temperature to 195
C on the temperature controller
(Fig. 7f) and wait for the cartridge to heat up. See Notes 13–16
for recommendations about the choice of the right temperature for deposition.
14. Purge material until the flow is consistent and smooth.
15. Remove any filament debris from the extruder needle.
16. Press Start on the controlling software to initiate printing.
17. Pay close attention to the first layers as they are those determining the stability of the printout during the process.
Fig. 7 Detailed view of the components for the head assembling procedure with EnvisionTEC Bioplotter: (a)
cartridge and needle, (b) heater block, (c) pressure valve, (d) building platform, (e) nitrogen line regulator, (f)
temperature controller
AM of Thermoplastics for Tissue Engineering
87
be seen in Fig. 9) and load the code.
10. Stick a stripe of double-sided tape on the building platform
(Fig. 7d).
11. Calibrate the Z axis by moving the print head to the desired
printing origin and set this as zero in the software.
12. Adjust the pressure on the compressed nitrogen line regulator
(Fig. 7e) to 5.5 bars.
13. Set the temperature to 195
C on the temperature controller
(Fig. 7f) and wait for the cartridge to heat up. See Notes 13–16
for recommendations about the choice of the right temperature for deposition.
14. Purge material until the flow is consistent and smooth.
15. Remove any filament debris from the extruder needle.
16. Press Start on the controlling software to initiate printing.
17. Pay close attention to the first layers as they are those determining the stability of the printout during the process.
Fig. 7 Detailed view of the components for the head assembling procedure with EnvisionTEC Bioplotter: (a)
cartridge and needle, (b) heater block, (c) pressure valve, (d) building platform, (e) nitrogen line regulator, (f)
temperature controller
AM of Thermoplastics for Tissue Engineering
87