

CHAPTER 3 ■ COMMUNICATION PROTOCOLS
47
//Connect MQTT Broker
Serial.println("[INFO] Connecting to MQTT Broker");
if (pubSubClient.connect( "arduinoClient" ))
{
Serial.println("[INFO] Connection to MQTT Broker Successful");
pubSubClient.subscribe(topic);
Serial.println("[INFO] Successfully Subscribed to MQTT Topic ");
Serial.println("[INFO] Publishing to MQTT Broker");
pubSubClient.publish(topic, "Test Message");
}
else
{
Serial.println("[INFO] Connection to MQTT Broker Failed");
}
}
void loop()
{
// Wait for messages from MQTT broker
pubSubClient.loop();
}
Your Arduino code is complete.
Final Product
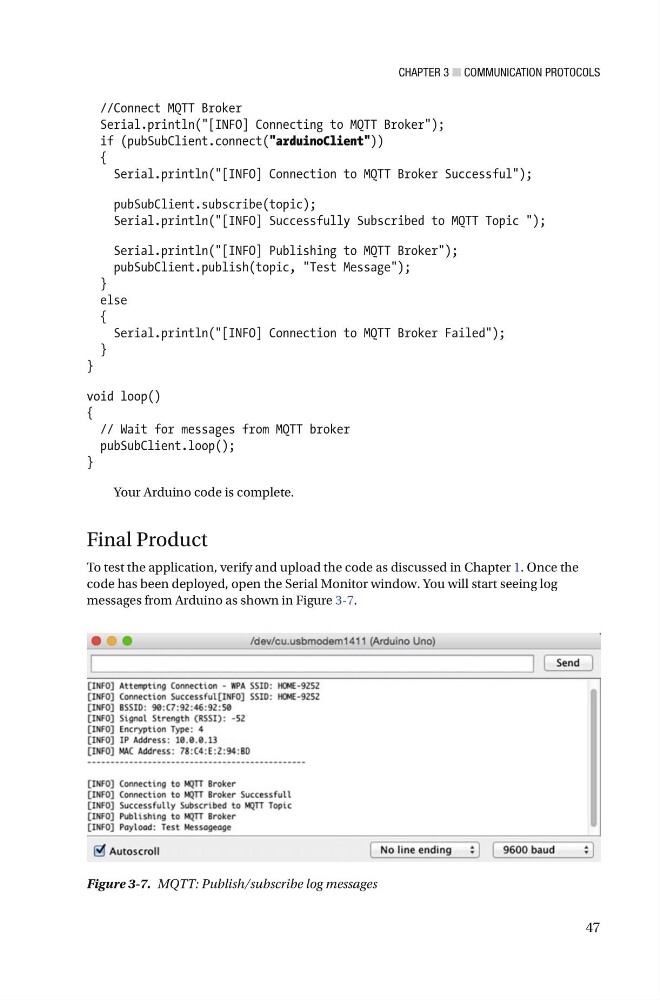
To test the application, verify and upload the code as discussed in Chapter 1 . Once the
code has been deployed, open the Serial Monitor window. You will start seeing log
messages from Arduino as shown in Figure 3-7 .
Figure 3-7. MQTT: Publish/subscribe log messages
47
//Connect MQTT Broker
Serial.println("[INFO] Connecting to MQTT Broker");
if (pubSubClient.connect( "arduinoClient" ))
{
Serial.println("[INFO] Connection to MQTT Broker Successful");
pubSubClient.subscribe(topic);
Serial.println("[INFO] Successfully Subscribed to MQTT Topic ");
Serial.println("[INFO] Publishing to MQTT Broker");
pubSubClient.publish(topic, "Test Message");
}
else
{
Serial.println("[INFO] Connection to MQTT Broker Failed");
}
}
void loop()
{
// Wait for messages from MQTT broker
pubSubClient.loop();
}
Your Arduino code is complete.
Final Product
To test the application, verify and upload the code as discussed in Chapter 1 . Once the
code has been deployed, open the Serial Monitor window. You will start seeing log
messages from Arduino as shown in Figure 3-7 .
Figure 3-7. MQTT: Publish/subscribe log messages