

TUTORIAL 3
A Fancier Form
In this tutorial, we will switch to using a TableLayout for our restaurant data
entry form, plus add a set of radio buttons to represent the type of
restaurant.
Step-By-Step Instructions
First, you need to have completed the previous tutorial. If you are
beginning the tutorials here, or if you wish to not use your existing work,
you can download a ZIP file with all of the tutorial results, and you can copy
the 02-SimpleForm edition of LunchList to use as a starting point.
Step #1: Switch to a TableLayout
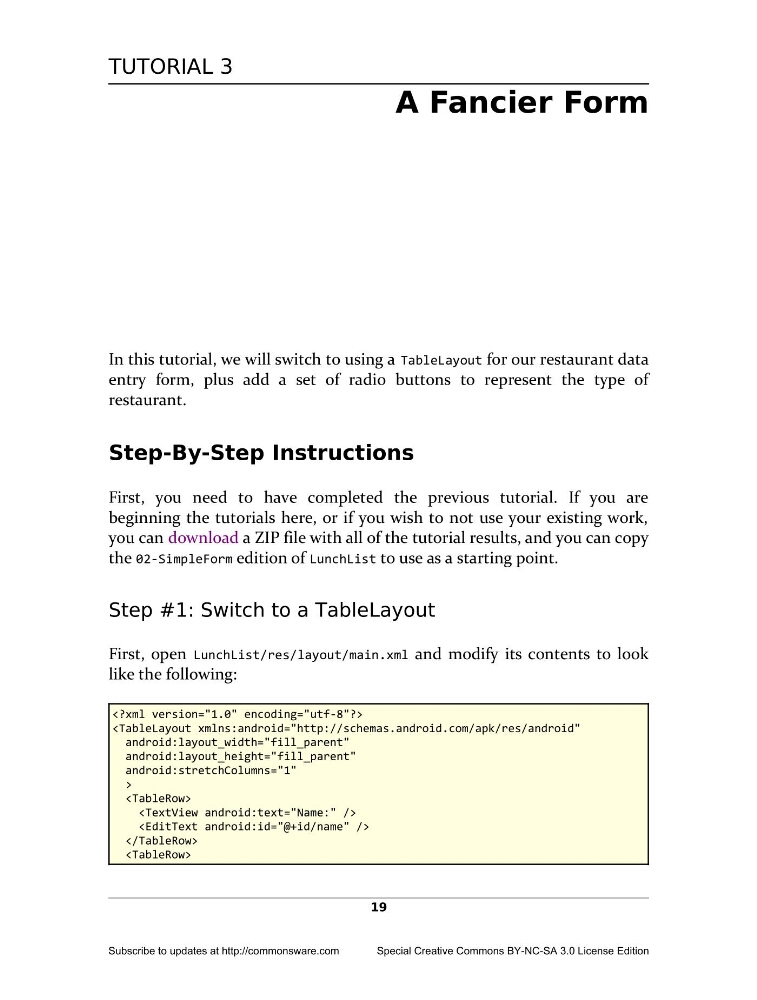
First, open LunchList/res/layout/main.xml and modify its contents to look
like the following:
android:layout_height="fill_parent"
android:stretchColumns="1"
>
19
Subscribe to updates at http://commonsware.com
Special Creative Commons BY-NC-SA 3.0 License Edition
A Fancier Form
In this tutorial, we will switch to using a TableLayout for our restaurant data
entry form, plus add a set of radio buttons to represent the type of
restaurant.
Step-By-Step Instructions
First, you need to have completed the previous tutorial. If you are
beginning the tutorials here, or if you wish to not use your existing work,
you can download a ZIP file with all of the tutorial results, and you can copy
the 02-SimpleForm edition of LunchList to use as a starting point.
Step #1: Switch to a TableLayout
First, open LunchList/res/layout/main.xml and modify its contents to look
like the following:
android:layout_height="fill_parent"
android:stretchColumns="1"
>
19
Subscribe to updates at http://commonsware.com
Special Creative Commons BY-NC-SA 3.0 License Edition